Overview
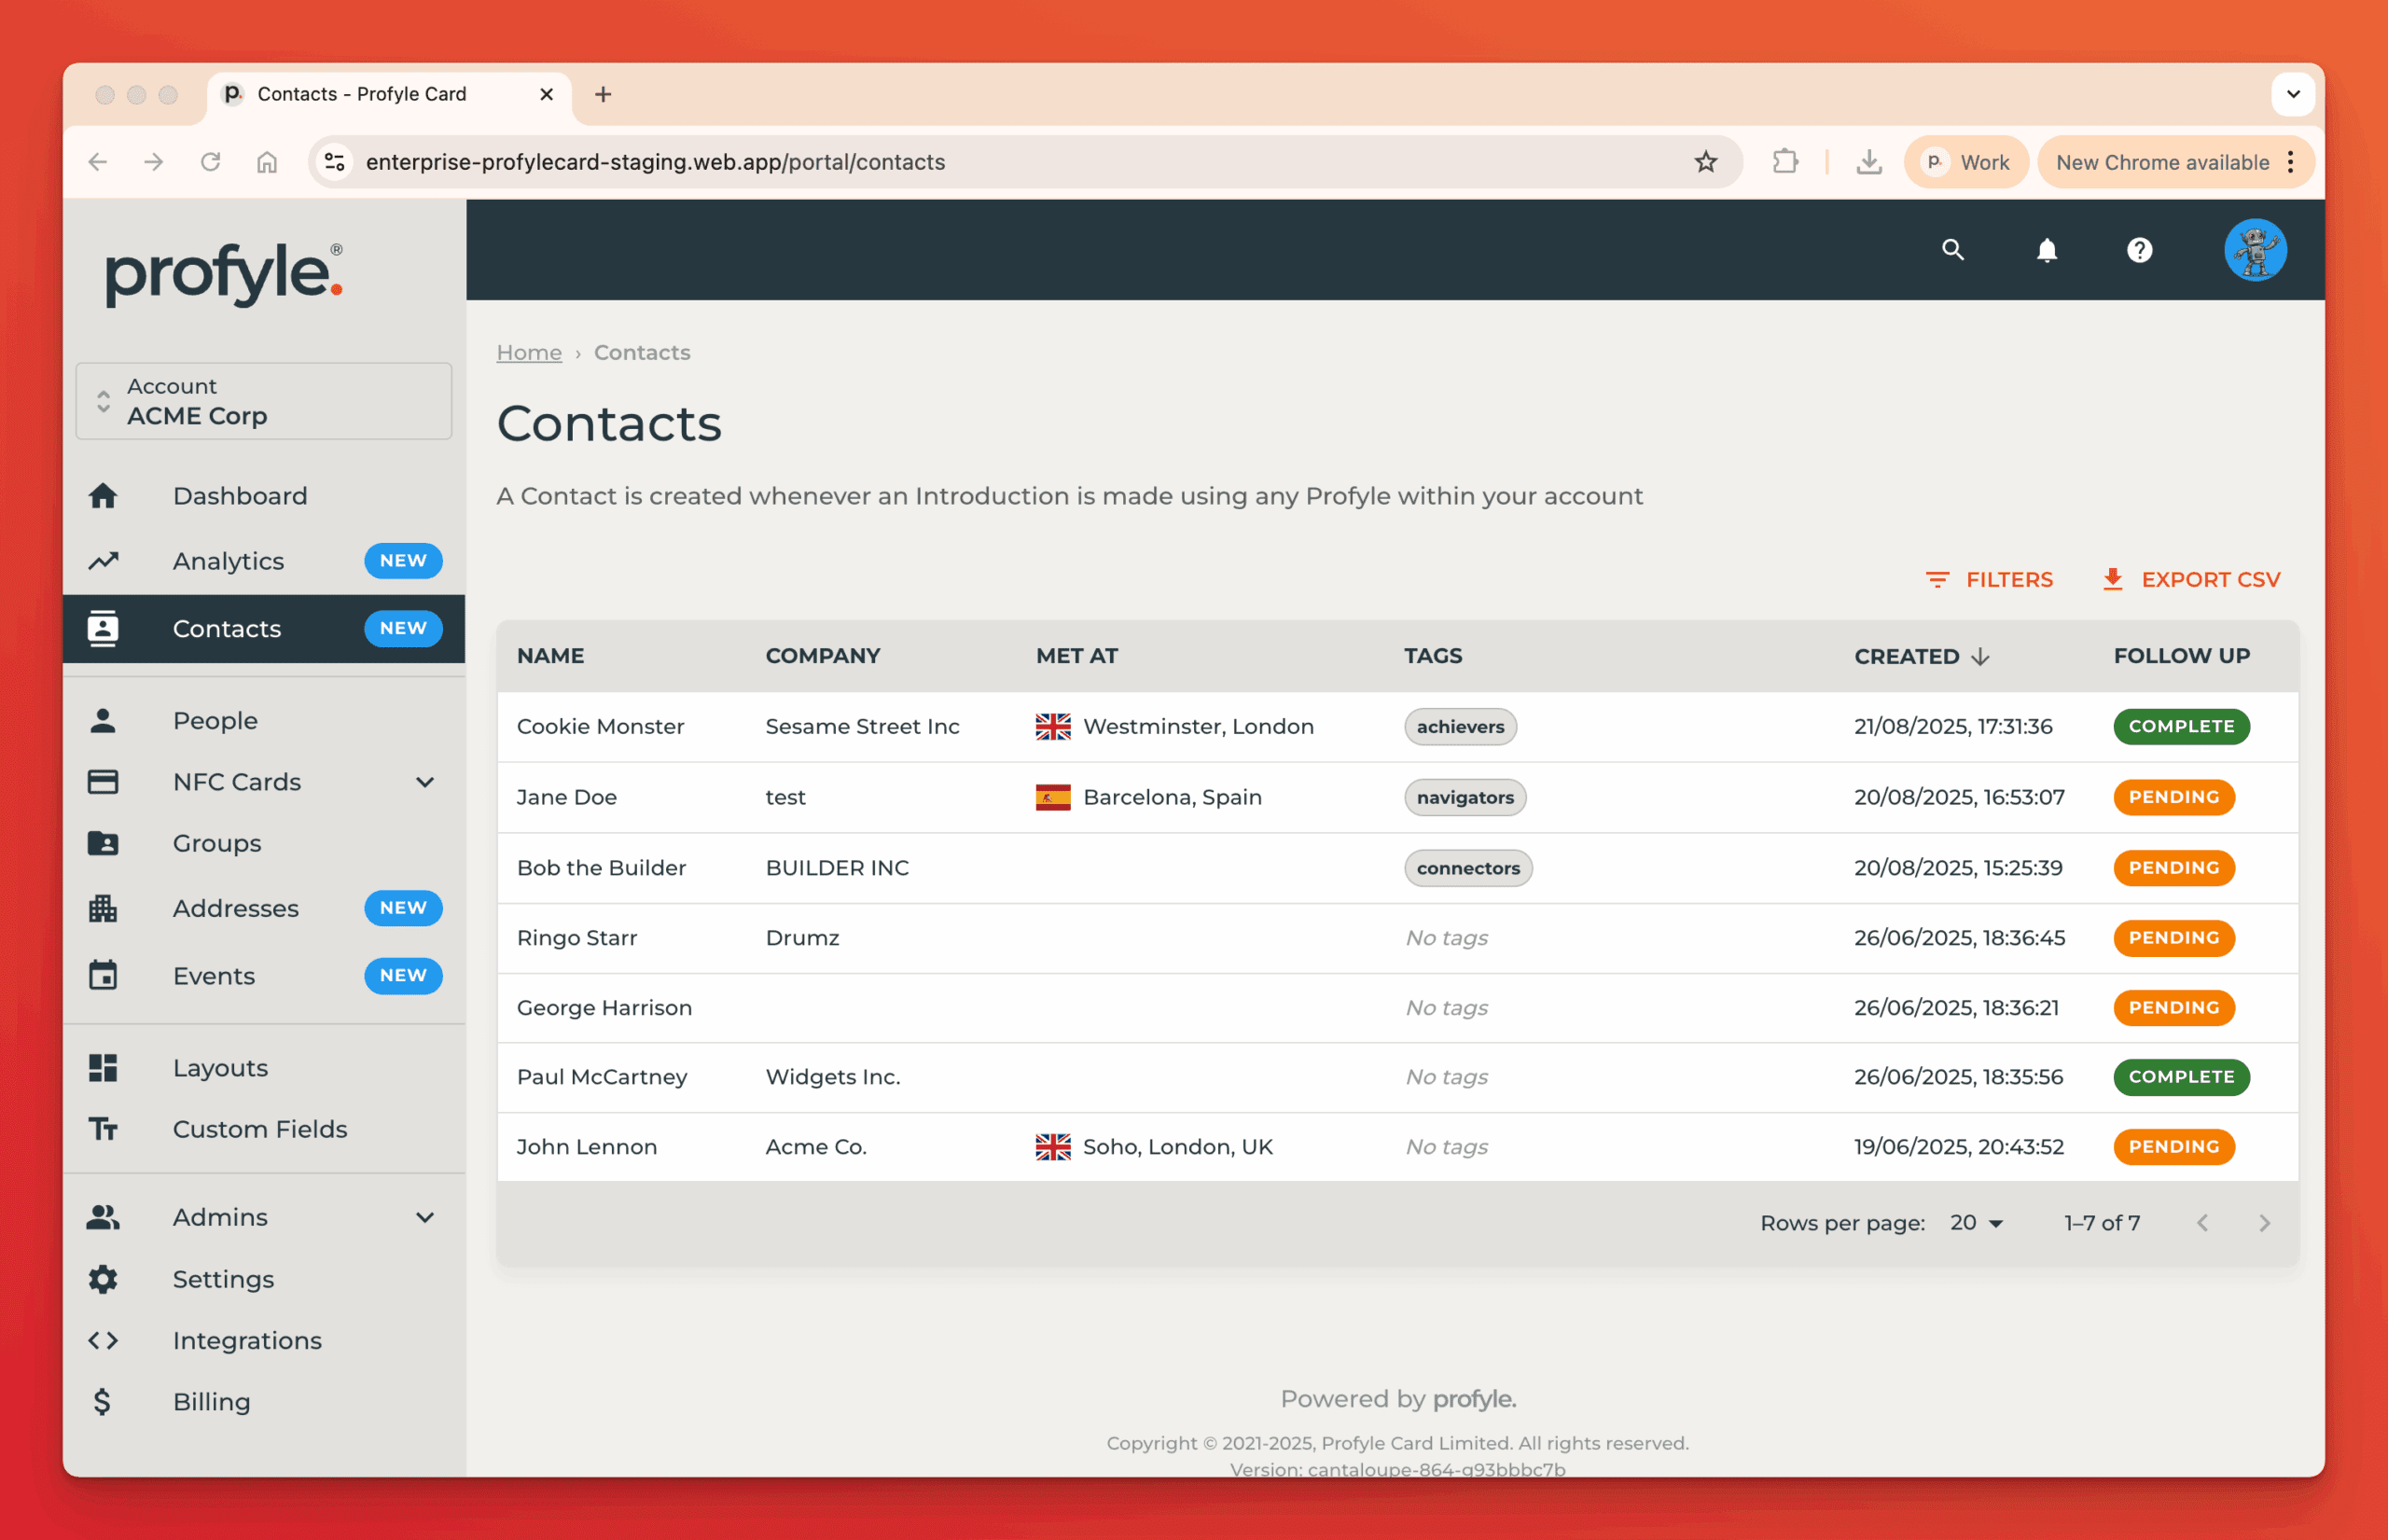
Contacts are created when any Profyle within your account completes an Introduction. This information is available to the Profyle owner and all portal admins.
Access all Contacts within your account by select “Contacts” from the left-hand menu:
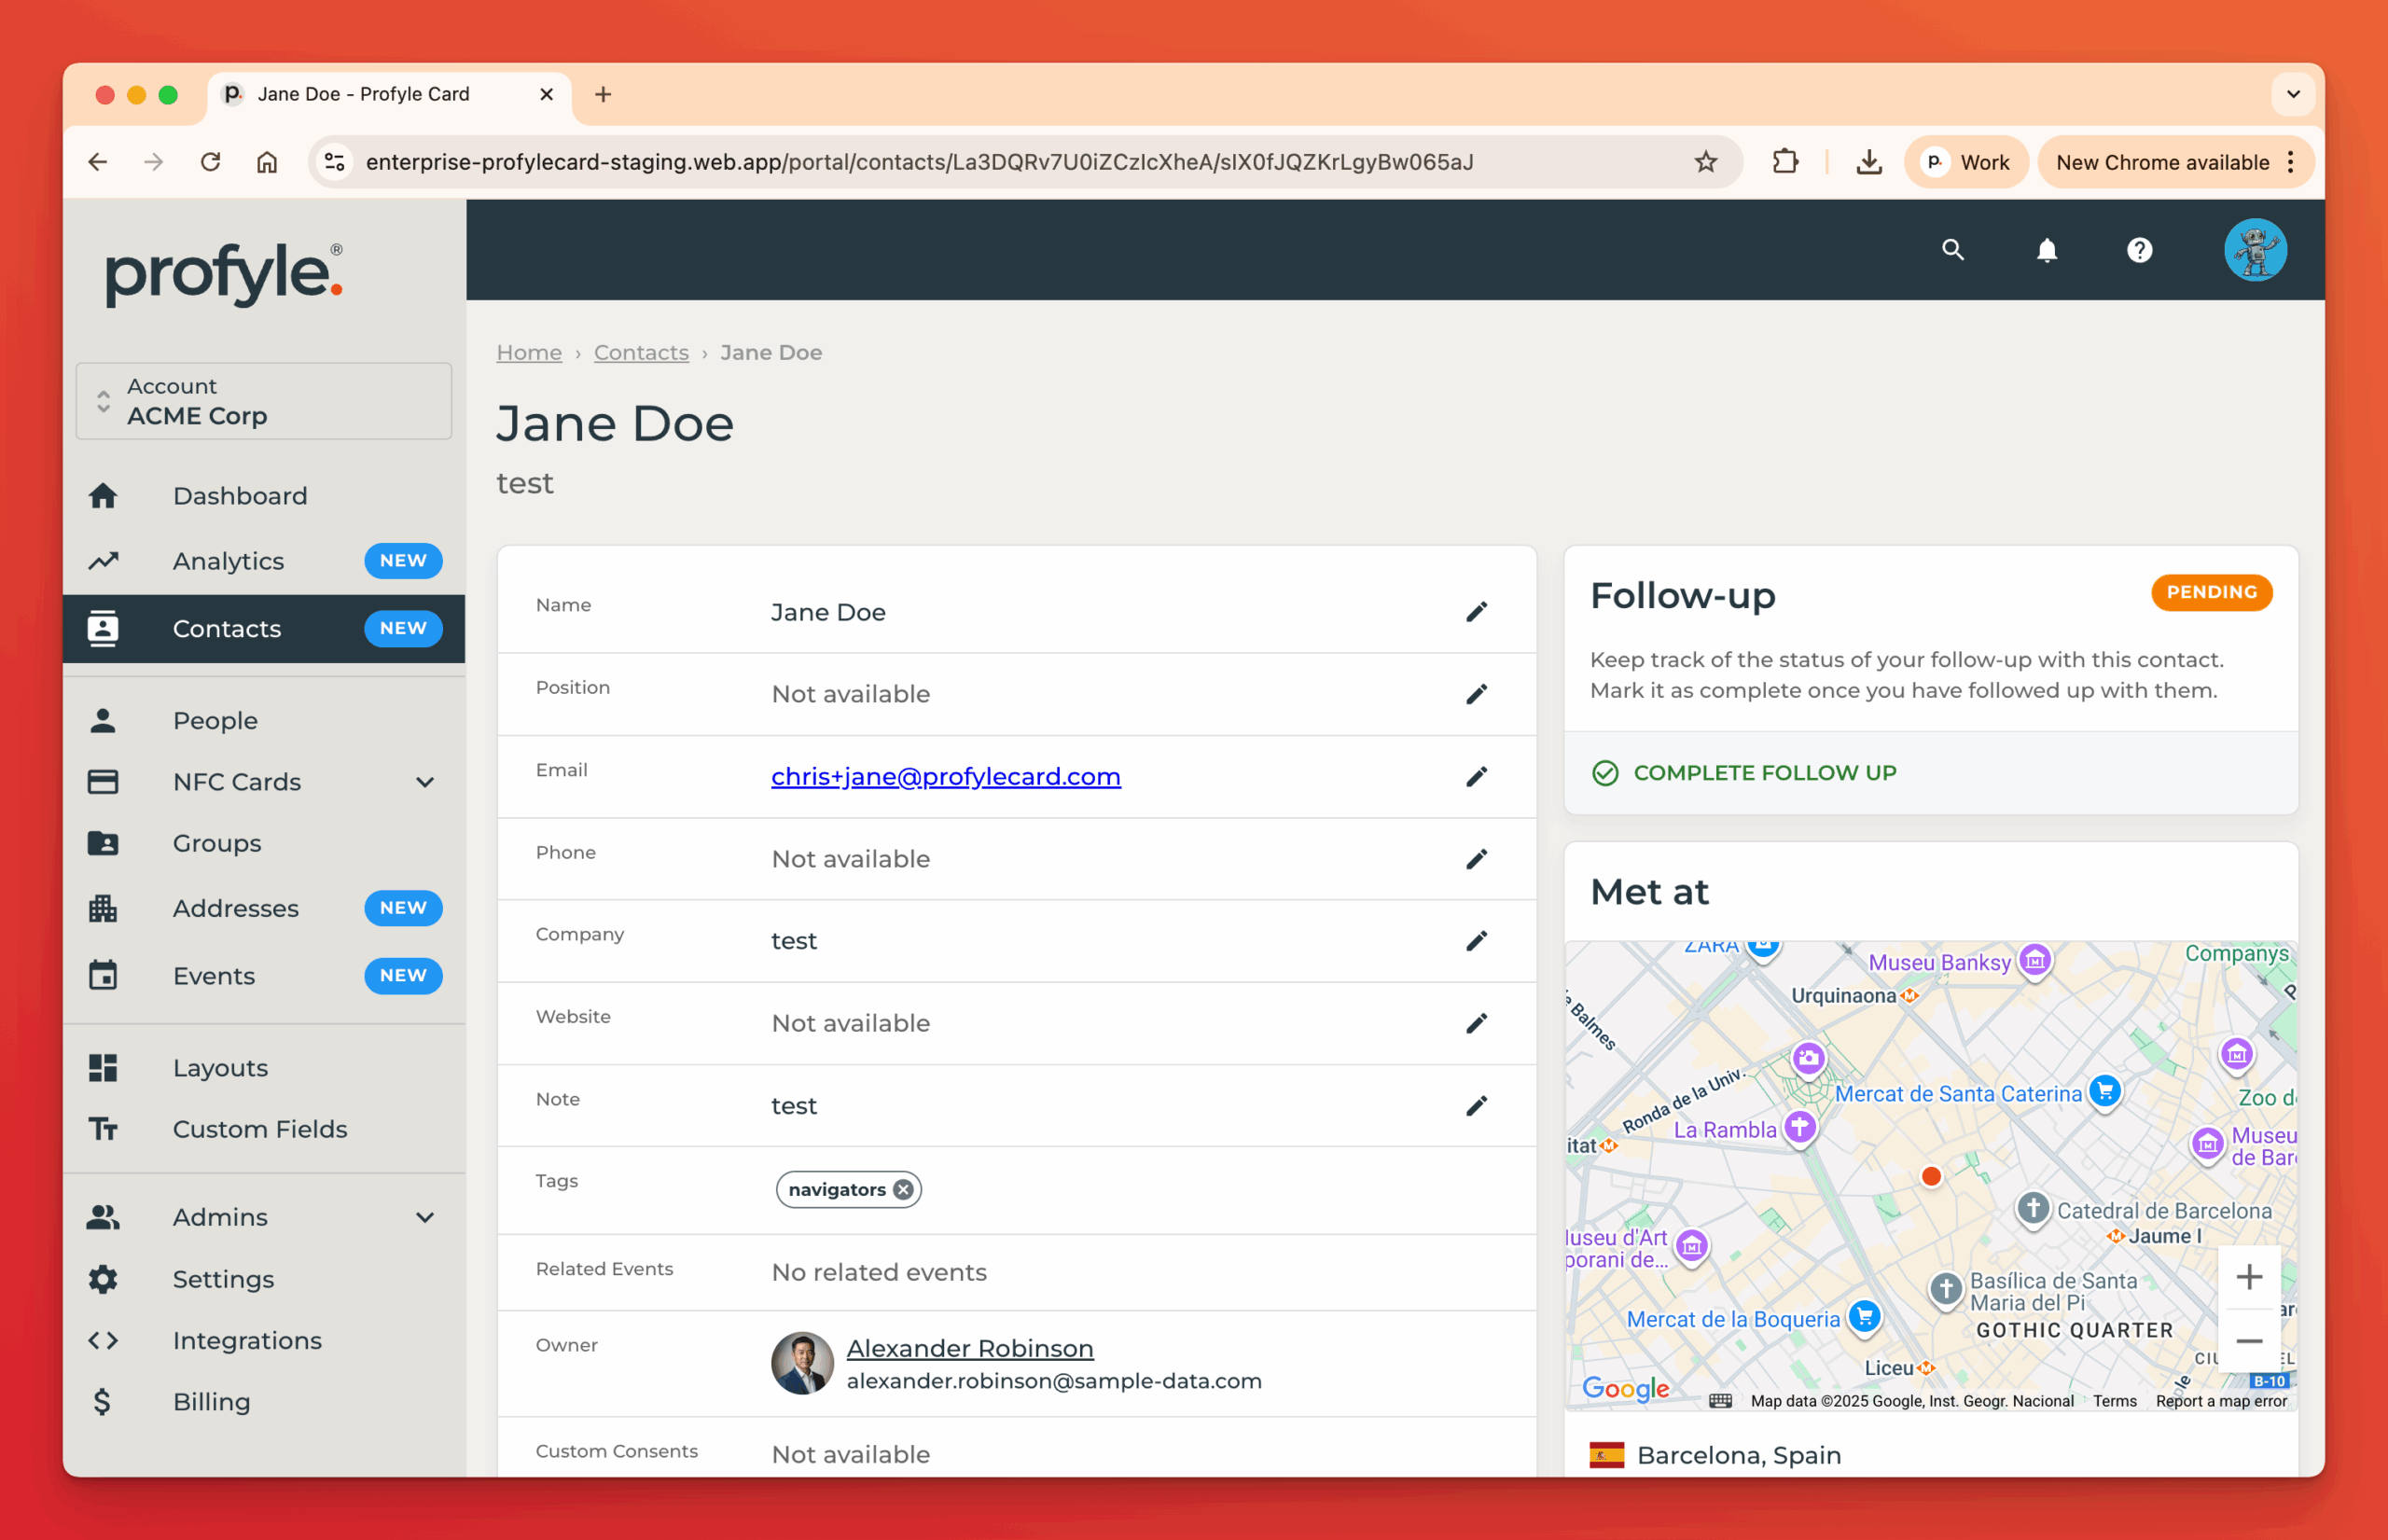
Click on any row in the table to view more information on the contact:
Editing Contact data
Most Contact data can be updated by clicking on the text or the pencil icon, making the edit and pressing Enter.
Note: Fields with hyperlinks (like email address and website) you can only edit the fields by clicking the pencil icon and clicking the text will open the link.
Tagging
If the Profyle owner is in a group, the Contact will automatically be tagged with the name of the group when it’s created.
Tags can be removed by clicking the X next to the tag name. Add tags by clicking in the tag area and either selecting an existing tag or typing in a new tag name.
Tag names can not contain spaces or special characters and these will automatically be converted to dashes and to lower case.
Filtering the list view
You can filter the Contacts list view by using tags. Click the filters button and select the tags you’d like to filter by:
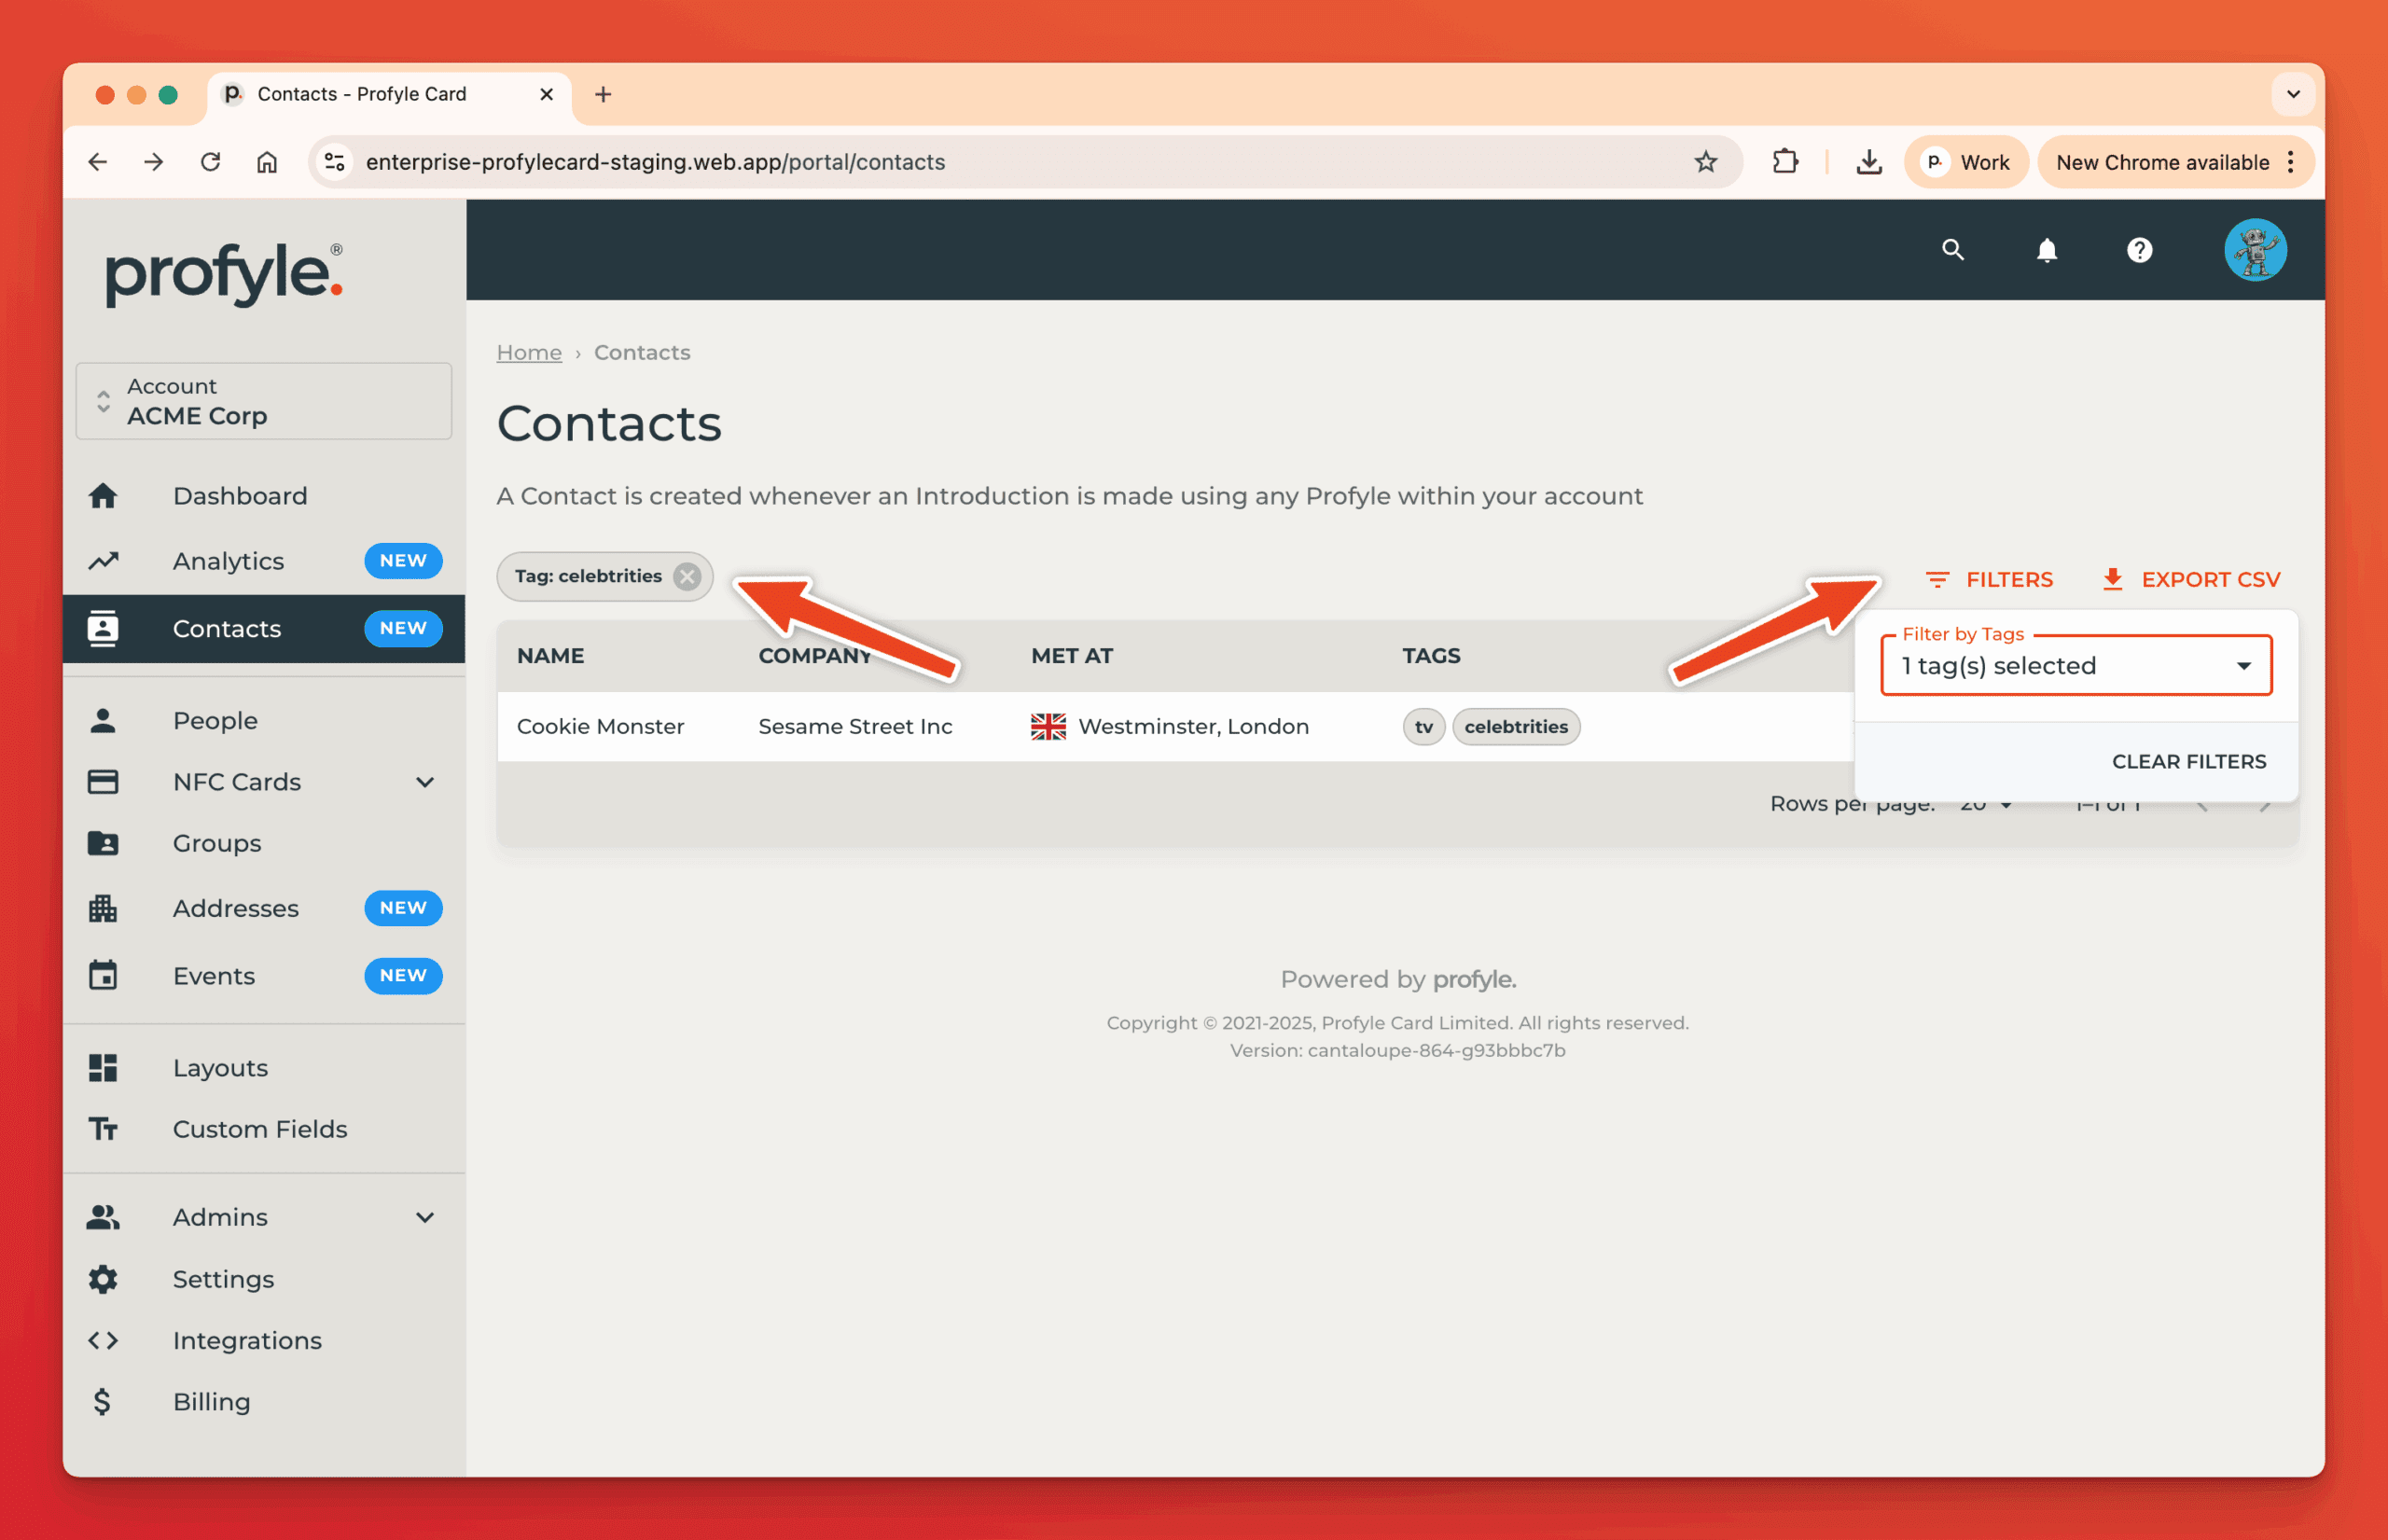
Remove tag filters by clicking the X by the filter name, or reset all by clicking “Clear Filters”.
Tracking follow-ups
Each contact has a follow-up status designed to make it easy to remember if a contact has been followed up with or not. This status is visible within the table and within the detail view. When a contact is in “Pending” status, you can mark it as followed-up by clicking the button:
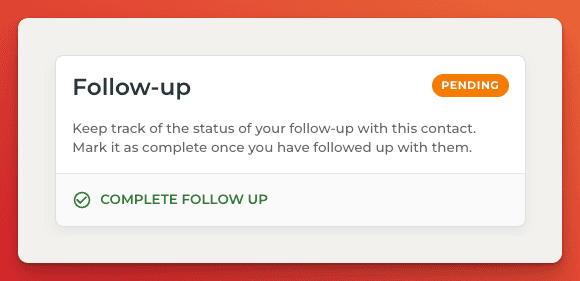
Please note that it is generally the contact owner (the Profyle that created the contact) that will change this status through their own Profyle account, or by clicking on a link in their weekly introductions reminder email.
Downloading contact data
Contact data for your organisation can be downloaded from the full contact view (by clicking “Contacts” in the left-hand menu) or just for an individual Profyle by viewing the Introductions for a single Profyle. To export this data as a CSV, click the “Export CSV” button at the top right of the table.
More information
For more information, please see these related help articles: